Tương tự ufw, iptable của centos, ubuntu, ESXi cũng có firewall của riêng mình. Mặc định ESXi đã tạo sẵn 1 số rule, chúng ta có thể thao tác với các rule này trên web quản trị
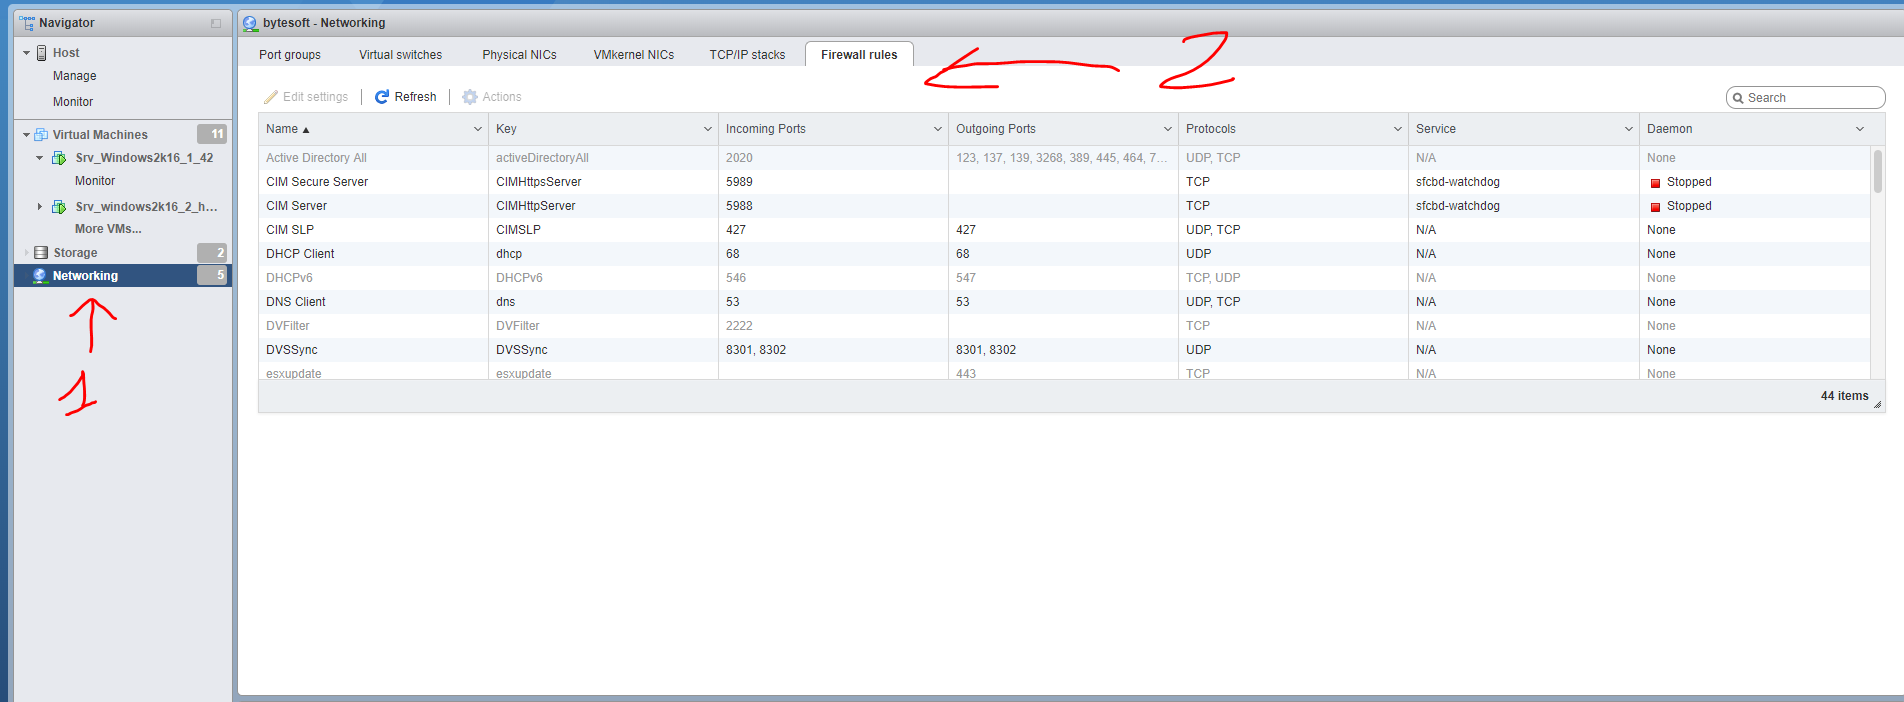
Tuy nhiên một có một số hạn chế như: chỉ đi ra ngoài qua outgoing port mặc định: 80, 22, 443.v.v
Khi đó cần tạo thêm rule mới cho nhu cầu của mình. Cách mở thêm rule như sau:
SSH vào máy chủ ESXi, sửa file /etc/vmware/firewall/custom.xml
nếu không có thì tạo mới.
Thêm rule vào theo định dạng sau:
<ConfigRoot>
  <service id='0100'>
    <id>sshClient-2222</id>
    <rule>
      <direction>outbound</direction>
      <protocol>tcp</protocol>
      <porttype>dst</porttype>
      <port>2222</port>
    </rule>
    <enabled>true</enabled>
    <required>false</required>
  </service>

  <service id='0101'>
    <id>NFSClient-2049</id>
    <rule>
      <direction>outbound</direction>
      <protocol>tcp</protocol>
      <porttype>dst</porttype>
      <port>2049</port>
    </rule>
    <enabled>true</enabled>
    <required>false</required>
  </service>

</ConfigRoot>
Sau đó refresh lại firewall
esxcli network firewall refresh